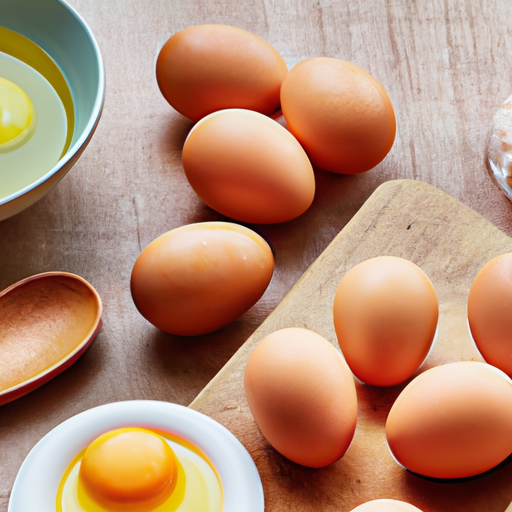
Are you tired of struggling to cook the perfect hard boiled eggs? Look no further! With our “Quick and Easy Hard Boiled Eggs Recipe,” you’ll never have to worry about over or undercooking your eggs again. Our foolproof method provides you with the perfect cooking times for hard boiled eggs every time. Say goodbye to that dreaded green ring around the yolk or that frustratingly runny consistency. Get ready to enjoy perfectly cooked hard boiled eggs that are quick, easy, and absolutely delicious!
Quick and Easy Hard Boiled Eggs Recipe
In this quick and easy recipe, we will walk you through the process of making perfect hard-boiled eggs every time. Whether you need them for a hearty breakfast, a protein-packed snack, or to use in other recipes, this foolproof method will ensure that your eggs are cooked to perfection. We will cover everything from selecting and preparing the eggs to boiling, cooling, and peeling them. So grab your apron and let’s get started!
Choosing and Preparing the Eggs
Before we dive into the cooking process, it’s essential to choose the right eggs and prepare them properly. Here are some tips to ensure that you have the best possible outcome with your hard-boiled eggs.
Selecting Fresh Eggs
To start with, it is important to select fresh eggs for the best results. Fresh eggs not only taste better but also have a firmer texture, making them easier to peel. When buying eggs, check the expiration date and opt for those with the latest date possible. If you have access to farm-fresh eggs, even better! These tend to have a vibrant orange yolk and a richer flavor.
Preventing Cracking
To prevent your eggs from cracking during cooking, it is essential to handle them carefully. Before you begin, gently tap each egg on a flat surface to check for any cracks. If you detect a crack, it’s best to discard that egg to avoid any spills or unwanted debris in your boiled eggs.
Room Temperature or Cold Eggs
There is an ongoing debate about whether room temperature or cold eggs yield better results. The truth is, both methods work just fine. If you prefer room temperature eggs, you can leave them out on the counter for about 30 minutes before cooking. On the other hand, if you prefer using cold eggs straight from the fridge, that works too. It all comes down to personal preference.
Boiling the Eggs
Now that you have your eggs ready, it’s time to move on to the boiling process. Here’s how you can achieve perfectly boiled eggs every time.
Using a Pot
To boil your eggs, you’ll need a medium-sized pot that can accommodate all the eggs you want to cook. Avoid using a small pot as it may result in overcrowding and uneven cooking. A pot with a tight-fitting lid is ideal for retaining steam and ensuring that the eggs cook evenly without drying out.
Adding Water and Salt
Next, fill the pot with enough water to cover the eggs completely. If you’re cooking a small batch, around 4-6 eggs, adding about an inch of water above the eggs is sufficient. For larger batches, adjust the water accordingly. Adding a pinch of salt to the water helps prevent the eggs from cracking and makes them easier to peel.
Boiling Time
Once you’ve added the water and salt, it’s time to bring it to a boil. Place the pot on the stove over medium-high heat and let the water come to a rolling boil. As soon as the water reaches a boil, reduce the heat to low and let it simmer gently.
The cooking time varies depending on your desired level of doneness. For a classic hard-boiled egg with a fully set yolk, let the eggs simmer for about 9-12 minutes. If you prefer a slightly softer yolk, opt for a cooking time of 6-8 minutes for medium-boiled eggs.
Adjusting Cooking Times
It’s essential to note that cooking times may vary based on factors such as the size of the eggs and the altitude at which you are cooking. If you find that your eggs are consistently undercooked or overcooked using the recommended times, feel free to adjust the cooking time by a minute or two until you achieve your desired texture.
Cooling and Peeling the Eggs
Once your eggs have finished cooking, it’s time to cool them down and get ready for the peeling process. Follow these steps for perfectly cooled and easily peelable hard-boiled eggs.
Draining and Cooling
First, carefully remove the pot from the heat and drain the hot water from the pot. Then, transfer the eggs to a bowl filled with cold water or an ice bath. Allowing the eggs to cool rapidly helps stop the cooking process and prevents the formation of a grayish-greenish ring around the yolk.
Let the eggs sit in the cold water for at least 5 minutes to ensure they are thoroughly cooled. You can even leave them in the water for longer if you wish, as it won’t affect the taste or texture.
Cracking and Peeling
Once the eggs have cooled, it’s time to peel them. Gently tap each egg on a hard surface to create small cracks all around the shell. Start peeling from the wider end of the egg, as it tends to have an air pocket that makes peeling easier. Slowly and carefully peel the shell, making sure to remove all the tiny pieces stuck to the egg white.
If you find that you’re struggling with the peeling process, rolling the egg gently between your palm and the countertop can help loosen the shell, making it easier to remove.
Cold Water Method
An alternative to the cracking and peeling method is the cold water method. After draining the hot water from the pot, refill it with cold water and let the eggs sit for a few minutes. Shake the pot gently to allow the eggs to bump into one another and crack, making the peeling process smoother.

Variations and Tips
Now that you have perfected the art of making delicious hard-boiled eggs, let’s explore some variations and additional tips to enhance your egg-cooking game.
Soft Boiled Eggs
If you prefer your eggs with a slightly runny yolk, you can adapt this recipe to make soft-boiled eggs. Simply adjust the cooking time to around 4-5 minutes for a soft and jammy yolk. Serve them with toast soldiers for a classic British breakfast or use them to top salads for a protein-rich meal.
Medium Boiled Eggs
For a yolk that is still creamy but more set than a soft-boiled egg, go for medium-boiled eggs. Cook them for around 6-8 minutes, and you’ll achieve that perfect balance between a runny yolk and a firm white. Medium-boiled eggs are fantastic additions to grain bowls, ramen bowls, or enjoyed on their own with some salt and pepper.
Adding Flavor
Although hard-boiled eggs are delicious on their own, you can take them to the next level by adding some flavor. Sprinkle your eggs with a pinch of salt and black pepper for an extra kick, or experiment with different seasonings such as paprika, cayenne pepper, or garlic powder. You can also dip the cooked eggs in soy sauce or your favorite hot sauce for an added burst of flavor.
Storage and Shelf Life
If you have leftover hard-boiled eggs or want to prepare them in advance for meal prepping, they can be stored in the refrigerator for up to one week. Make sure to place them in a covered container to prevent any off-flavors from absorbing into the eggs.
When you’re ready to enjoy your stored hard-boiled eggs, you can simply peel and eat them as is, or use them in various recipes like egg salad sandwiches, deviled eggs, or as a protein-packed topping for salads.
Now that you have all the tools and knowledge to make perfect hard-boiled eggs, feel free to get creative with your culinary adventures. Whether you enjoy them on their own, use them in various dishes, or experiment with different flavors, these easy-to-make eggs are a versatile and nutritious addition to your repertoire. Happy cooking!

